
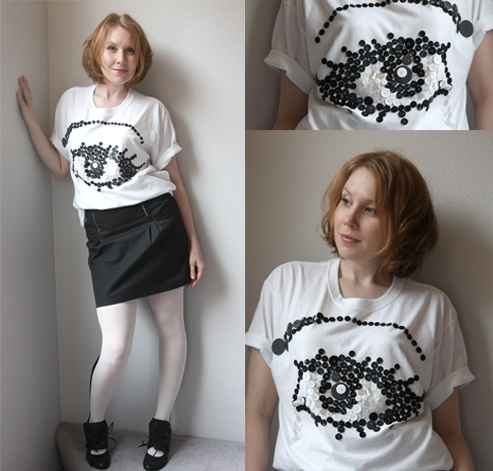
Inspired by the original DIY’er, Martin Margiela, I’ve dipped into my overflowing stash of mismatched buttons to craft a fabulously avant-garde-style t-shirt. I’m using an old shirt that I was considering discarding because of a couple tiny stains on the front. But that’s what DIY’s for! Cover up stains, patching, pilling, or a design you don’t like…or add interest to an otherwsie boring piece. There’s a ton of great art and photos out on the internet – or you can create your own image and use it as a template for button placement. I chose monochromatic buttons so that the image would appear “pixellated” when standing from afar – and though I chose to make an eye (in my own homage to Salvador Dali), you could make anything your heart desires.
You Need:
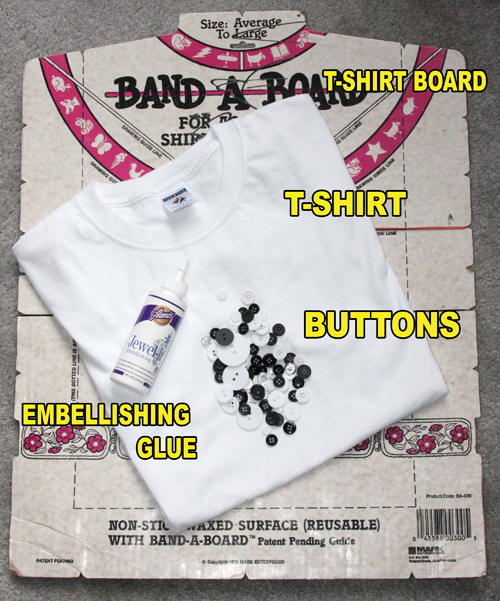
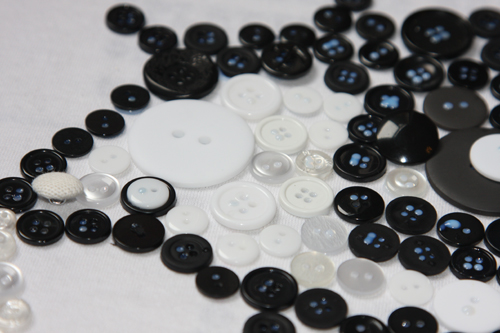
t-shirt*large number of buttons in various sizes and shapes (preferably in shades of black, white, and gray) // Jewel-It Embellishing Glue (or other glue for affixing plastic embellishments to fabric) // piece of cardboard or t-shirt board
Optional:
printout, drawing, or photo // tape // sewing machine & needle for knits // hand-sewing needle // thread matching buttons
How To:
Prep Time

1. Pre-wash t-shirt if it hasn’t been washed already. Place cardboard or t-shirt board inside t-shirt to flatten front.2. (Optional) If you are using a piece of artwork as a template, slide it inside your tee, just on top of the board. Secure with tape.
Decorate
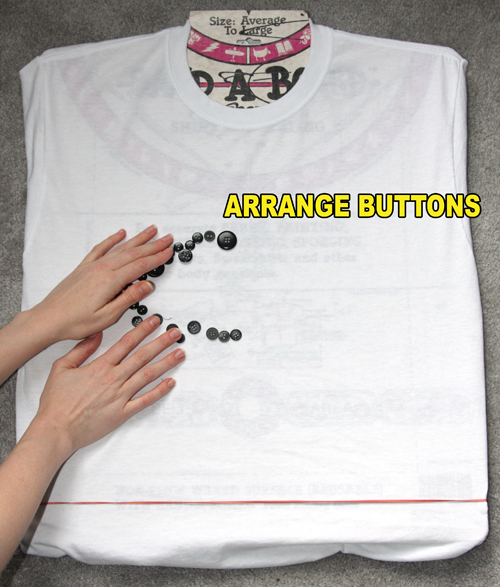
3. Now’s the time to channel your inner artiste! Place tee on a flat surface and start covering it with buttons. Start with the black outlines, then place the brightest white buttons on the brightest white parts of the eye. (You’ll probably spend a lot of time squinting at your picture.) Stand back every few minutes to see if you like the effect, and adjust your placement as necessary.
Make it Permanent

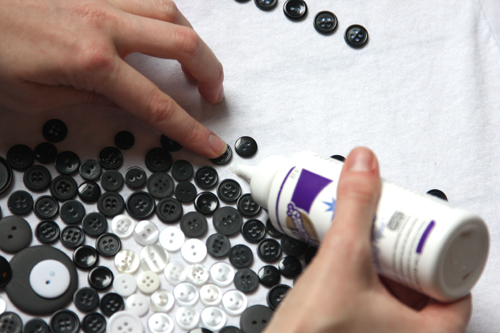
4. When you’re pleased with your button artwork, now you need to take each button off and affix it to the t-shirt. For the larger buttons add a daub of glue to its back; for the smaller dot glue onto the shirt itself. If you plan to go back and sew your buttons for more security – be careful you don’t get any glue in the buttonholes. (If you are using shanked buttons, you’ll have to hand-sew them on to the shirt.)
5. After you’ve glued all your buttons down, allow the glue to dry per the instructions.

6. (Optional) Remove board from tee, and proceed to sew all the buttons down to the front of your shirt. (Drop the sewing machine’s feed dogs, and zigzag into 2 holes of each button – which should be secure to hold it on and allow you to machine-wash your shirt.)7. Wear and enjoy all the extra attention. (If you have chosen not to sew your buttons down, follow the washing instructions on the glue. Some glues are not fast when put in the wash, so be careful when choosing!)
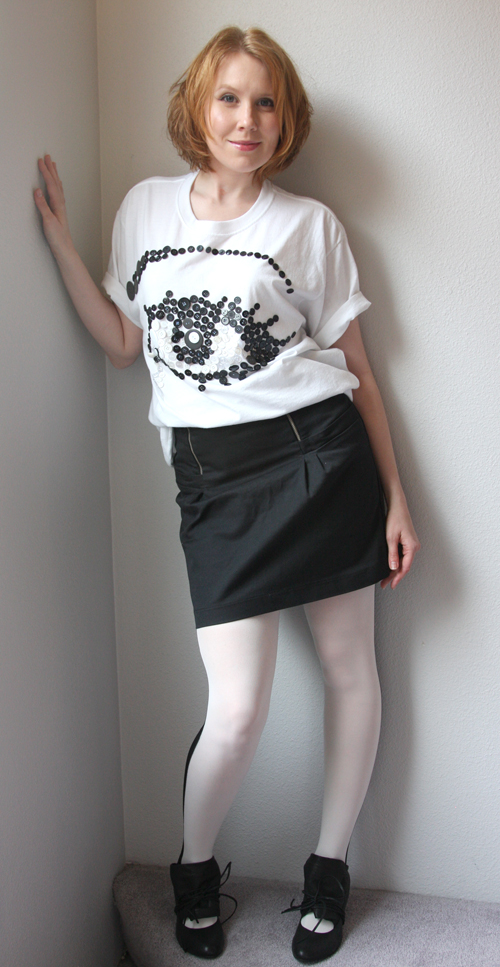
Pair with black and white pieces to make your monochromatic look. Here’s looking at you, kid!
Thanks for reading – and if you have any questions, ask them in the Comments section below and I’ll do my best to help you out!
xoxox
Carly J. Cais
as posted on Threadbanger


Wow, really cool DIY! I have loads of buttons so this is a project I will have to try!
You're so creative! love the tee-shirt.
Nini
I am going to make this. So funky.
So cute!
Great idea for a DIY!
You have an artist's eye.
I'm inspired to put my jar of random buttons to good use now. Thanks!
Awesome! Think I will start rounding up my buttons and give this a try. Thanks for sharing this with us.
What a great project to use a Buttoneer on!! I have a collection of tshirts from Woot! most of them I collected b/c the image grabbed me and I wanted to rework the shirt around it. The Stack grows weekly but items like this stir the embers of how I could start off.