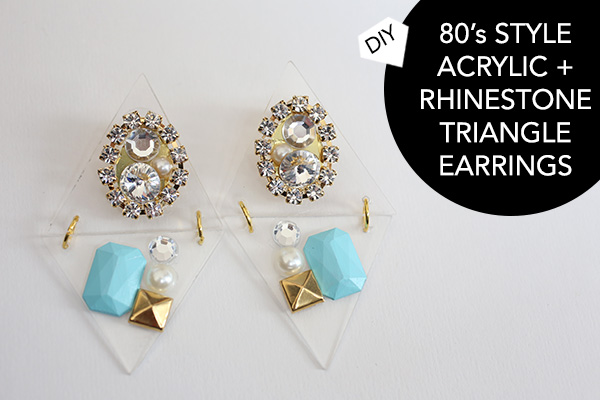
 Big jewelry straight out of the 1980’s is having a HUGE moment this year. The bigger, the better – covered with plexi and acrylic, chunky bold shapes, and glittering rhinestones – anything goes right now. I saw these earrings for sale in a store during my last trip to Tokyo this Summer – and decided to DIY them with some materials I already had on hand. Clear acrylic for accessories is hard to come by – so I just repurposed an old photo-frame for my main material. Here’s how:
You Need:
clear acrylic photo-frame (found at Michael’s Arts & Crafts) / cutting blade / ruler (preferably metal) / pen / fine grit sandpaper (not pictured) / hole punch / 2 1/4″ gold pyramid studs (or pyramid nailheads) / rhinestone chain / wire cutting pliers / round rhinestones (both flat-back and pointed-back) / 2 large octagon rhinestones / pearl stick-on scrapbooking stickers / scissors / four large jump rings / jump ring tool (optional – or another pair of pliers) / acrylic paint (optional, not pictured) / paintbrush (optional, not pictured) / jewelry glue (recommended: Beacon Dazzle-Tac) / gold soft embossing metal / glue-on earring posts (with pad) and backings (for heavy earrings)
How To:  1. To make the base triangles for the earrings, use the ruler and pen to mark an isosceles triangle onto the acrylic photo frame. (You’ll want to use as much of the existing edges as possible – and the bottom edge of the triangle is about 1.5″ long.)
2.Score the acrylic several times with a cutting blade, against the ruler.
3. Place acrylic on the edge of a table, and use your palm to press the acrylic part you are cutting off. It should snap cleanly if you have gone over it enough times with the blade. (WARNING: ACRYLIC IS SUPER-SHARP when you snap it so please be careful!!)

4. Trace the triangle you cut out onto the acrylic 3 more times, and repeat the process to cut the acrylic into triangles.
5. If there are any areas that didn’t snap cleanly, use your pliers to break the edges off. Now you should have 4 triangles that are more or less the same shape.
6. To prevent cuts, use a piece of fine grit sandpaper to smooth down any rough edges.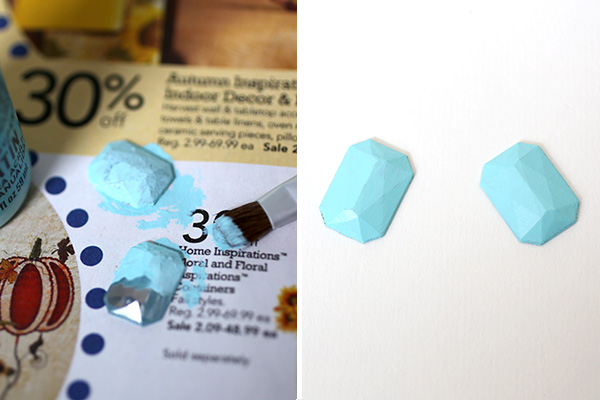 7. For my earrings I wanted to use some opaque pastel rhinestones, which I didn’t have, so I had to paint my 2 large rhinestone octagons with a couple coats of acrylic paint.
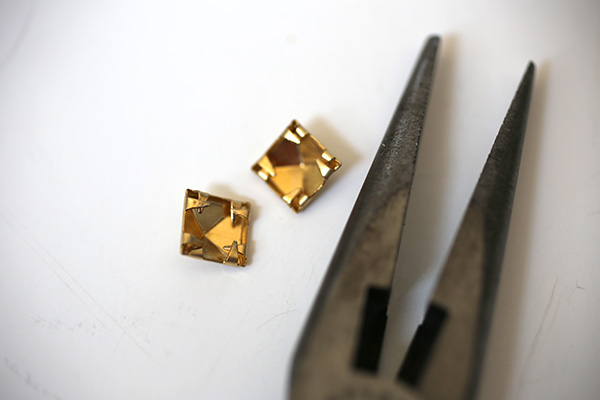
8. Also use your pliers to fold down the prongs of the pyramid studs at the back. (If you’re using pyramid nailheads, you wouldn’t need to.)

8. Use a hole punch (or a heated awl) to punch two holes at the bottom of each top triangle for the jump rings.
9. Use a pen to mark where the corresponding hole would be for each bottom piece, and punch those holes too.
 10. Now it’s time to attach the bling! First place your embellishments onto the embossing metal, and sketch an oval shape around them.
11. Cut out with scissors, and use it as a template for the other piece.
12. Attach the embellishments to each oval. (If you are using scrapbooking stickers, peel off the sticky backing first, then attach with glue.)
13. Attach each oval to a triangle with the jewelry glue.
14. Surround the edge of the ovals with the rhinestone chain, cutting to fit and gluing down.

15. For the bottom triangles, glue on the painted rhinestones, pearls, pyramid studs, and other small flatback rhinestones.

14. Use the pliers and jump ring tool to attach the triangle tops to the bottoms through the holes you punched earlier.

13. Glue the backings onto the center apexes of the top triangles, and allow to dry.
 And that’s it!

 Don’t let the amount of materials and supplies for this project intimidate you – you can use whatever embellishments you have on hand to create your one-of-a-kind 80’s masterpiece! Let them dangle and catch the light – and a whole lot of attention no matter what you pair them with.

Pair with an oversized 80’s sweater and leggings for maximum throwback impact!!
 Happy DIY’ing!
xo
Carly


Carly these are friggen SICK! I love them! I thought that you’d used shrinky dink plastic… using an acrylic frame is brilliant… I’ve gotta try it. I love the design you chose, and the embossing metal is yet again, brilliant!
xo ~ Lia | Smart n Snazzy
Thank you Lia, for your comment! Of course I should have used shrinky dink plastic!! Ugh. Would have been soooo much easier, right?! But then again I did want a very clear plastic – and I’ve only had the experience where shrinky dinks get cloudy after they’re baked. Unfortunately because the photo frame plastic is pretty thin, it does show score marks and scratches easily…*sigh*…there really isn’t a good material to make these, I think! :-/ Thanks for your kind words 🙂
Turned out so beautifully BRILLIANT! 🙂
Thank you so much Nash! I appreciate it 🙂
Very nice. Way better than 80s earrings.
Thanks Samantha!