 Hello all!
I apologize for my week-long absence…things have been just crazy with Lil Tot going back to school and getting back into the school routine. And I have an announcement to make soon – can’t wait to share!
 I snapped up a Stylestalker Space Jam T-shirt style dress from Shopbop in February – I just couldn’t pass up the cool pattern on it. (All it needs is a kitten shooting rainbows out of its eyes and then its the perfect Dark Side of the Moon-style CD album artwork. Or something like that.)
  Unfortunately it was the last dress left and at a size 4 it was a little too tight here and there on me (at the time in February). The mantra I live by: [Tweet “Clothing needs to skim the body…not show where your bellybutton is!”] So I went about to alter it to be a little more skimming, and here’s how you could do the same to a straight-shaped dress that just needs a little extra something:
You Need:
T-shirt style or A-line dress (can be fitted to your curves at the side seams, but preferably one with straight side seams) / black fabric (or your choice) with a small amount of stretch) / scissors / pins / sewing machine or serger / matching thread / iron & ironing board (optional)
How To:
1. Cut 2 long strips of fabric (longer than each of the dress side seams), about 2″ wide (depending on how much extra you need to add). Remember to estimate how much you need and divide by 2 for the wide of each strip. Add 3/8-1/2″ on each side of each strip for seam allowance, depending on your comfort level with sewing.
2. Pick open the side seams of the dress, all the way up through the sleeves at the underarms. Your sleeves will be correspondingly larger – but in my case, that’s what I needed. (If you don’t want larger sleeves, instead slit only to the armscye but not through. When sewing the strip into the side seams you’ll see a long triangle of fabric peeking out at the sides, rather than a rectangle.)
3. Also pick open the hem (if finished) and the sleeves hem (if finished) a couple inches on either side of the side seams. You’ll need to match the raw end of the fabric strip to the raw end of the dress at the sleeves.
 4. Start at the open bottom seams of the sleeves. Pin one strip to one side of the sleeve and dress, and sew it to the dress, overlocking or zigzag-stitching the raw edges.
5. Repeat for the other side of the strip, closing that side seam.
6. Repeat for the other side of the dress too.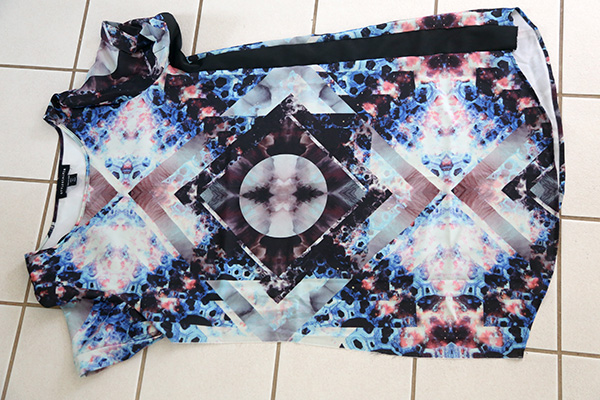
7. Trim the long ends of the strips to match with the raw hem of the dress.
8. Re-hem the dress, incorporating the fabric strip. Finish the sleeves to match the previous sleeve hems.
9. Press with an iron to set any creases and make the fabric strip look like it’s part of the dress.


 And that’s pretty much it! It took my 20 minutes, tops. And now I can wear this dress and not feel like it’s straining and pulling anywhere (whew). The great thing is this little trick works on any dress, for any size, and you could add whatever fabric you feel fits with the color and style of the dress and no one would be the wiser. Perhaps I should have titled this post “How to Wear a Size 4 When You’re Really a Size 6”??
 Poor Lil Tot was forced to take pictures as dusk was setting in and the shutter speed wasn’t high enough…so we got a lot of blurry photos. I thought some of them looked kind of cool and ethereal…fitting with the dress. My hand looks like a skeleton hand in that left photo. *shudders*
 Happy DIY’ing!!
xo
Carly
P.S. I know the dress looks really loose on me now. When I bought it, it was wayyyy too tight in late February. I lost a lot of weight in the meantime and now I probably am a size 4, so had I not altered it, the dress would probably be just right now. C’est la vie.


I like the dress , the black side panels give it some extra pizzazz. Pat S
Thanks Pat! Sometimes a girl’s gotta do what a girl’s gotta do, right? 😉
Awesome idea! I would totally wear it out! 🙂
Thanks! It’s always easier to make a dress smaller, but making one larger can sometimes be tough. This only works on non-fitted dresses, though!
I never have the need 2 make them smaller 🙁