 Hello friends! Here’s an ombre nail art idea for you today to try out the next time you’re painting your nails.
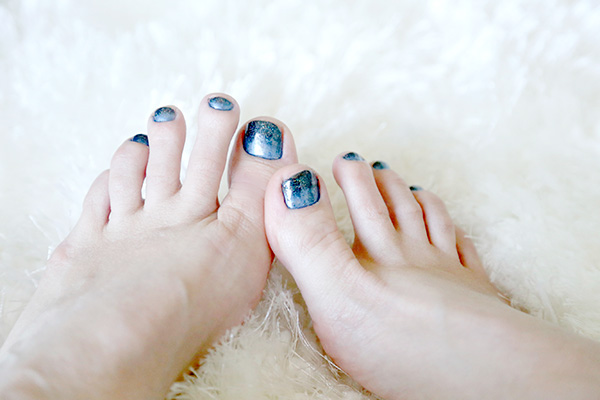 I was wanting to update my pedi with something reminiscent of warm, starry night skies – which are so much more gorgeous in Summer. While everyone else is doing pastels or neons this season, I went dark and spangled, just like late July evenings with the sky dotted with fireflies and stars.
 After prepping my feet according to this DIY Pedicure Guide (and using my favorite Spongeables Ped-Scrub Foot Buffer to scrub away any rough patches), I painted a clear base coat, and then:
- Painted one coat of a dark cobalt blue that had a small amount of micro glitter in it, and let dry. (The polish I used I bought like 10+ years ago, so if you’re looking for something similar now, this one is a close match.)
- Then I painted half of my nails close to the cuticle with the blue
- While the polish was still wet, I painted the ends with Estelle (black multi-glitter), mixing the polish where it met the blue. I let dry.
- Finally I applied another coat of Estelle at the tips to darken into black. One topcoat to smooth the surface and it was all done!

 I love the dark and mysterious look to this pedi, and how it sparkles in the sunlight (and against my favorite silver sandals).
What other colors do you think it would be fun to mix into an ombre mani? 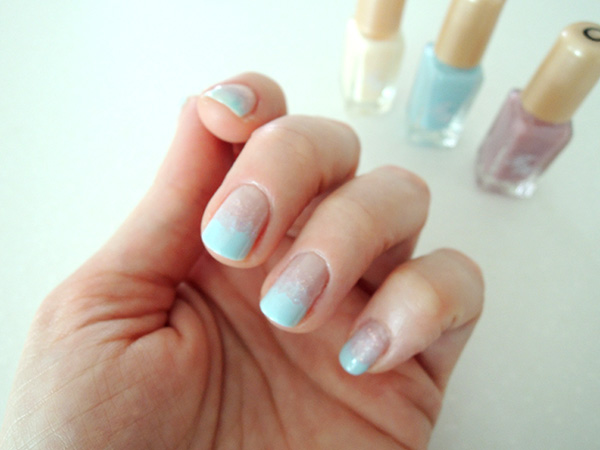 (I tried sorbet blue and lavender in this DIY Ombre Sherbet Nail Art last year!)
 Happy Summer DIY pedis!
xo
Carly


That’s so cute!
Thanks, Infinity! 🙂