FTC Disclosure: This post is part of a paid campaign with the makers of ARM & HAMMER™ and BlogHer. All opinions expressed are my own. My official Disclosure Policy is here.
Sometimes it takes stepping back and re-evaluating your life to discover the radiance within – and I’ve found that by paring down my possessions, specifically the contents of my wardrobe.
After many years living in the same home, you often fall into a rut, surrounded by things you don’t necessarily need or use anymore.
That was me, living with my son in our home in a small town just outside of Portland, Oregon. There was so much clutter, so much excess, that over the past year I embarked on a mission to purge. To get back to basics. To find what makes me shine among all the needless items amassed from years of DIY’s, crafting, buying, being gifted things, and just general mindlessness when it came to holding on to things.
So I began a mission of frugality: to cut back everywhere I could, not only in bills and general consumption, but also in items I had in the house. Items that I did not use – and that were full of memories of times that were not so happy, that dragged me back into a past of dullness and dust every time I looked at them.

I cleaned out my closet from 7 years of holding onto stuff I wore. Handbags, jewelry, accessories, coats, jeans, tops, lingerie, dresses, skirts, knick-knacks… nothing was immune, and I ended up getting rid of 3/4 of what I owned. It was then, once I had eliminated 75% of what I owned, that I discovered something amazing.
I discovered that when you own less, there is less to take care of. Less time you devote to taking care of it for one thing! (Dusting, cleaning, dry-cleaning, ironing, putting back on hangers, organizing, mending.) Less mental space that it takes up. Fewer memories tugging at you, less of the past rising up to meet you every time you open the closet. And with less choice, amazingly… you have more. Everything goes together, everything fits. The beauty of matching – and the beauty of space in between your garments. Suddenly, what felt cramped and ugly, became beautiful and radiant, simply by embracing less and leaving only what I truly loved. I uncovered this only through paring down to my essentials.
Just as I had to remove layers upon layers of old clothing to get to my core wardrobe of radiance, so does ARM & HAMMER™ Truly Radiant™ Rejuvenating Toothpaste prevents tartar from building up to reveal truly white teeth. But unlike an average whitening toothpaste, this revolutionary toothpaste goes beyond the surface to strengthen, clean and repair tooth enamel for a radiant smile in just 5 days.* (*Data on file.)
It took me a lot longer to clean out and paint my closet, and go through, pare down, and sell my possessions. But with this toothpaste, for less than a $4 investment, you can reveal a whole new smile in less than a week. It has a light and crisp mint flavor, and a cooling sensation that lasts.
In addition to the Rejuvenating Toothpaste, the Truly Radiant™ Collection also includes the ARM & HAMMER™ Truly Radiant™ Manual Toothbrush and the ARM & HAMMER™ Truly Radiant™ Whitening & Strengthening Rinse (with no alcohol or peroxide!) to complete your oral care suite.
Learn more about the Truly Radiant™ Collection by visiting the ARM & HAMMER™ website or following them on Facebook for special promotions and information.
You can also try the new ARM & HAMMER™ Truly Radiant™ line of products for a chic steal with these coupons (and who doesn’t love coupons??!):
Save $1.00 off ARM & HAMMER™ Truly Radiant™ Manual Toothbrush
Save $0.50 off ARM & HAMMER™ Truly Radiant™ Rejuvenating Toothpaste
Save $1.00 off ARM & HAMMER™ Truly Radiant™ Whitening & Strengthening Rinse
I found my inner strength and radiance by cutting out the non-essentials and only keeping the things that empowered me and made me smile. How will you re-connect with your inner radiance? Leave a comment below to enter for a chance to win a $100 Visa gift card!
Entry Instructions:
No duplicate comments.
You may receive (2) total entries by selecting from the following entry methods:
- Leave a comment in response to the sweepstakes prompt on this post
- Tweet (public message) about this promotion; including exactly the following unique term in your tweet message: “#SweepstakesEntry”; and leave the URL to that tweet in a comment on this post
- Blog about this promotion, including a disclosure that you are receiving a sweepstakes entry in exchange for writing the blog post, and leave the URL to that post in a comment on this post
- For those with no Twitter or blog, read the official rules to learn about an alternate form of entry.
This giveaway is open to US Residents age 18 or older (or nineteen (19) years of age or older in Alabama and Nebraska). Winners will be selected via random draw, and will be notified by e-mail. The notification email will come directly from BlogHer via the sweeps@blogher email address. You will have 2 business days to respond; otherwise a new winner will be selected.
The Official Rules are available here.
This sweepstakes runs from 8/3/15 – 9/30/15.
Be sure to visit the Truly Radiant brand page on BlogHer.com where you can read other bloggers’ posts!
xo
Carly
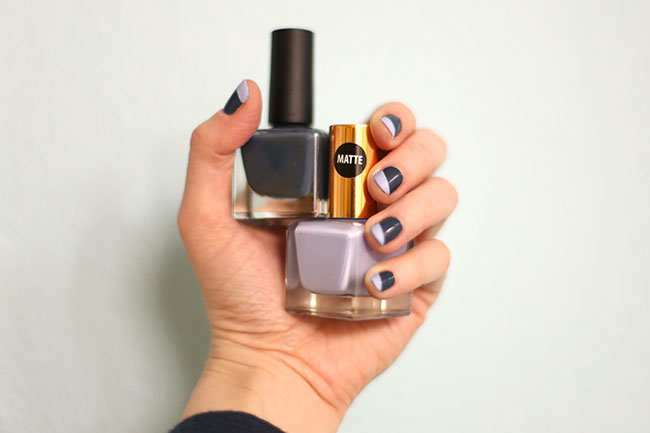


 Hello friends! Here’s an ombre nail art idea for you today to try out the next time you’re painting your nails.
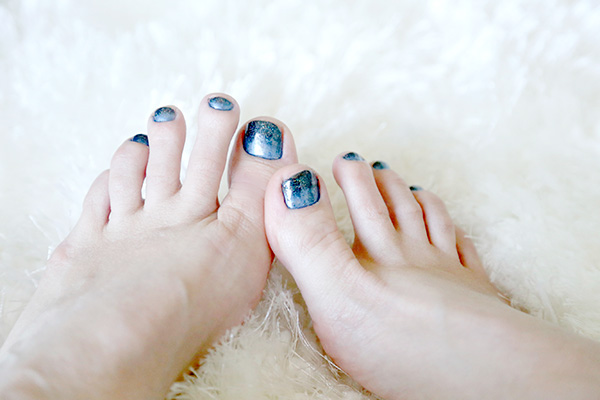 I was wanting to update my pedi with something reminiscent of warm, starry night skies – which are so much more gorgeous in Summer. While everyone else is doing pastels or neons this season, I went dark and spangled, just like late July evenings with the sky dotted with fireflies and stars.
 After prepping my feet according to this
 I love the dark and mysterious look to this pedi, and how it sparkles in the sunlight (and against my favorite silver sandals).
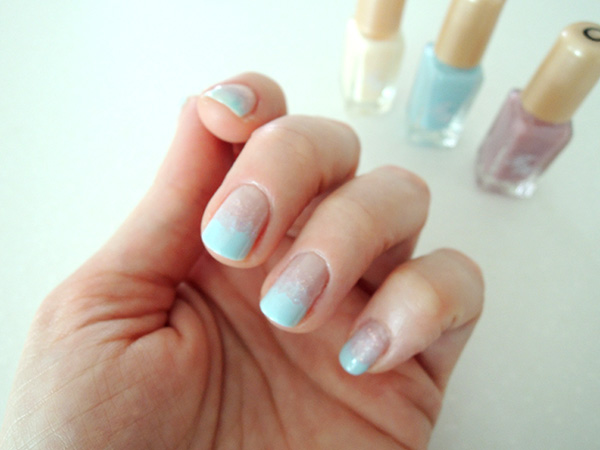 (I tried sorbet blue and lavender in this
  Happy Summer DIY pedis!
 You’ve all heard of probiotics, right? Those excellent-for-you bacteria that keep your gut (and the rest of you!) healthy and functioning? Well, taking probiotics internally for optimum health has been a part of many cultures for centuries (with culinary traditions of kefir, natto, miso, sauerkraut, and kimchee, for example)…but how about taking probiotics externally? Would the same benefits we experience when consuming probiotics also come into play when applied to our skin?
 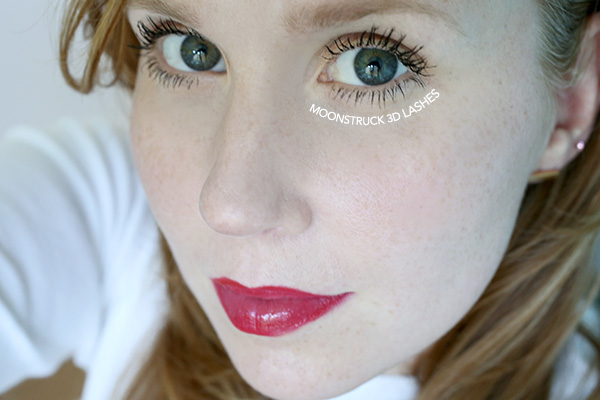 I received an inquiry from a company called YOUNIQUE earlier this month, who sent me a set of their


