Jul 12, 2014 | DIY, Score!
 The brand-new Canadian line, TRENDiY Art, was recently kind enough to send me one of their fun DIY kits to review.
TRENDiY Art is a new line of art and craft activities for tweens and teens, and is all about making cool jewelry and fashionable accessories. They provide not only all the materials to make these projects in the kits, but also a full-length fashion magazine with styling ideas and DIY possibilities. 


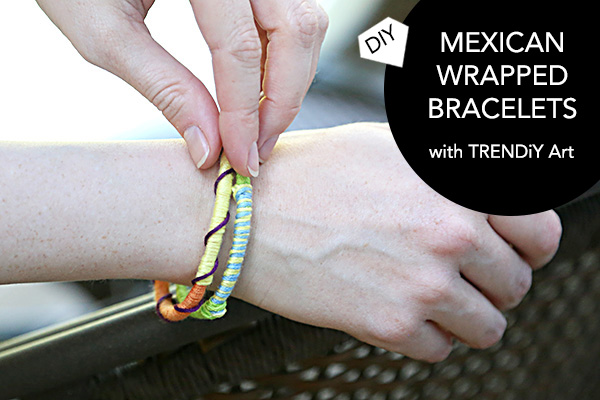
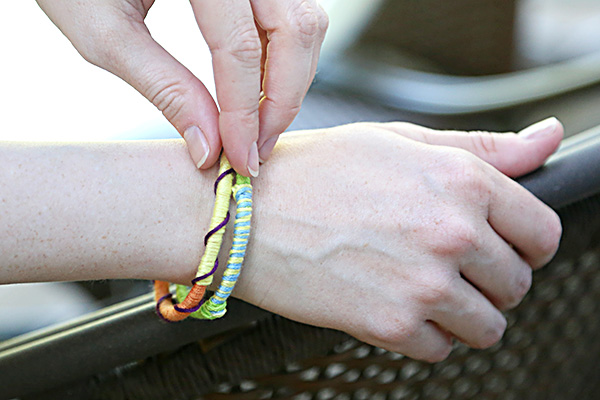
 I decided to open up the Mexican Bracelets kit and try my hand at some embroidery thread-wrapped bracelets.
  They were super-easy to make and a cute, colorful addition to my stack of arm adornment. Here’s how to make them:
You Need:
 TRENDiY Art Mexican Bracelets Kit / scissors
How To:

 1. Start by double-knotting one thread around your bangle.
2. Wrap the thread around multiple times.
 3. Change color by tying a new thread to the old one with a double knot, then cutting off the old thread.
4. Wrap the second color around, covering up the end of the old color and the end of the new color.
5. Continue all the way around, until you reach the beginning of your wrapping.
6. Add a third contrasting color wrapped around your base colors for texture.
7. When done, tie your final thread to the tail of the thread you tied on in the beginning, and snip all extra ends.
 You can use 2 or 3 different colors rolled together for different looks, switch up the colors frequently, or tie many colors loosely around (even finishing your bracelet with a handmade tassel!) Plus you can hand-sew on some crystals, or even thread on some beads as you wrap for a totally different look.
 Make it your own, make it colorful, and make it fun!

These kits make it very easy to create your own DIY projects since they come pre-stocked with everything you need. Totally on-trend and fun, TRENDiY Art kits are a great gift or engaging activity for any avid DIY’er in your life.
Currently only available in the UK, you can get your hands on 3 of these exclusive kits by entering the giveaway below!
Giveaway
One lucky reader will win 3 TRENDiY Art Kits! Enter using the Rafflecopter widget below:
a Rafflecopter giveaway
Good luck!
xo
Carly
FTC Disclosure: I was sent 4 DIY kits to review from TRENDiY Art. I have received no other compensation for this post. The above opinions are my own. To read my full Disclosure Policy, click here.
Save
Leave Comment
Feb 2, 2014 | DIY
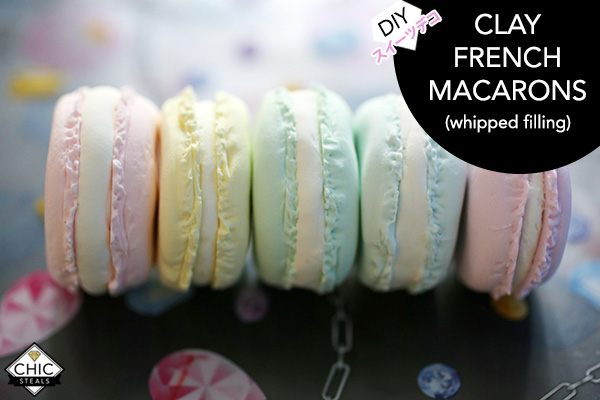 Who isn’t obsessed with French macarons lately? They seem to be everywhere: flooding Pinterest, on inspiration boards, in recipe guides, and all over Instagram. Though I love love love the real ones as an occasional indulgence, sometimes I want to have some around as sweet little objets d’art, and as the basis for another fun craft for Valentine’s Day I have coming up.
 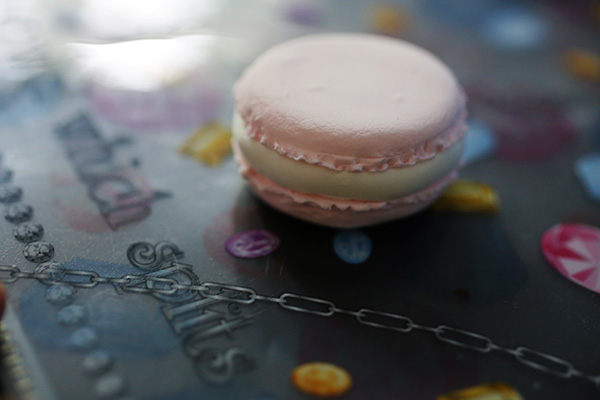 They could also be used in jewelry and accessory projects too! (More on that later.) In the first of my series on Japanese-inspired Deko Sweets, here is how to make your very own (extremely realistic!) pastel-colored French macaron out of clay:
You Need: (more…)
Leave Comment
Nov 29, 2012 | DIY
 Whip up some sparkling, shimmering ornaments super-quick, and with only a couple of supplies! This can even be a great project for kids to work on their fine motor skills.
Materials: sequins in leaf shapes or snowflake shapes / pearl-head pins in red or pearlized / round styrofoam balls (you can paint them different colors before using if you don’t like the white showing through) / glitter ribbon
Tools: glue gun / scissors
How to:
1. Cut a short length of ribbon, enough to go around the styro ball and create a hang loop. 2. Use the glue gun to attach around the ball at the center. Loop the end of the ribbon over itself and glue together to hang.
 3. Use the pins to attach sequins all over the ball.
  For the holly ornament, use 2-3 leaf sequins strung on one pin, and for the snowflake ornament, use 1-2 sequins on one pin.
 4. Keep adding pinned sequins until the ball is completely covered.


Hang on your tree, pile in a bowl, attach to a garland or a wreath – however you decide to display these pretty ornaments, they’re sure to be the star of your holiday decorating!
Thanks to LocalSpotter.com for featuring these DIY Sequin Ball Ornaments in their Christmas Gift Tips series today! Check out their whole Christmas Guide series for some major holiday inspiration!
Happy DIY’ing!
xoxox
Carly
Leave Comment
Jul 15, 2012 | DIY

A few of you asked for the instructions for making the milk carton bird feeder I featured in this post, so I scanned the original instructions from Parents Magazine to share with all of you.
How to Make a DIY Bird Feeder Out of an Upcycled Milk Carton

{click on photo to enlarge}
Tips They Didn’t Include:
*Although it doesn’t mention this in the instructions, it is extremely difficult to paint over a milk carton with acrylic paint. It took me 5 coats to even get to the opacity shown above!! (I swear, I studied that photo for near to 15 minutes trying to figure out how they got it that opaque-looking.) I’d highly recommend either lightly sanding the surface, or ideally, applying a coat of primer first and then doing your acrylic paint. That way it should be much easier to get a solid color to the feeder.
*Although this isn’t mentioned in the instructions either, since this bird feeder is probably going to be used outside (right?) a good coating of spray sealant is highly recommended. Once my sprinklers hit it that acrylic paint cracked up completely.
How to Get Birds to Come to Your DIY Milk Carton Bird Feeder:
*place it slightly at or above (an adult’s) eye level, in a sheltered area
*place it away from squirrels, cats, or other predators that may scare away the birds
*make the opening only large enough for the type of bird you’re looking to feed (not large enough for squirrels or crows, etc)
*essentially it’s not the color of the feeder that attracts the birds, it’s more the location, accessibility, and food. (Except for hummingbirds, who are attracted to the color red.)
*place something shiny, like a piece of metal, on the feeder. Birds love shiny objects!
Source
Hope that works for you guys! It’s a super-fun craft to do with your kids (or even by yourself for your garden, deck, or patio!) – so definitely try it out. Ours is drawing a number of birds to it every morning!
Happy DIY’ing!
xoxox
Carly
~If you liked this craft, please share it!~
Leave Comment
Jul 9, 2012 | DIY
 Sorry for that little hiatus there!
My laptop’s internal battery overheated and put my computer out of commission for awhile, so it’s been unusable over the weekend while I waited for the replacement battery to arrive. Now it’s installed and everything seems to be running smoothly again.
So I took some time to work on some DIYs, including my new favorite material, UV resin. So simple and easy to use – and perfect for the bright, sunny weather we’re having here in Portland! 
 It cures within minutes, is completely clear, and layers images and charms so beautifully.
 I finally found an equivalent available here in the U.S., so once I’m done testing it I’ll be sharing the tutorial with everyone!
  The above are just some pieces I put together quickly…and will likely be listing in my Etsy shop once I relaunch that.
 Given that I couldn’t use my computer, I spent much of the weekend also having some quality family time. Yesterday I helped my son make a DIY bird feeder out of an old milk carton, some twigs, and some buttons.
  So far the birds in our garden haven’t noticed it…but it’s just a matter of time…
xoxox
Carly
~If you liked this post, please share it!~
Leave Comment


