 Yesterday I made some DIY Spooky Pictures for the wall, today I want to take the mantelpiece decorations a step further with a creepy Eyeball Garland made of paper cutouts (super easy!) and Decoupaged Glow-in-the-Dark Skulls on DIY Stantions. (I don’t even know if they’re actually called stantions per se, I just like how fancy and architectural that sounds;-) You can make these too very easily with just a few supplies. Here’s how:
You Need for the Eyeball Garland:
 eyeball paper cut-outs (I used Martha Stewart Crafts Decoupage Paper Cut-Outs eyeballs in all 4 sizes) / tape / scissors / black embroidery floss / washi tape for adhering to the mantel (optional)
How To:
1. This project is super-duper easy!! Cut a looong piece of embroidery thread (enough to stretch across your mantel and then some).
 2. Decide on the order for your eyeballs. (Use your finger to smooth out the edges of them so they don’t look jagged from where they were attached to the paper.)
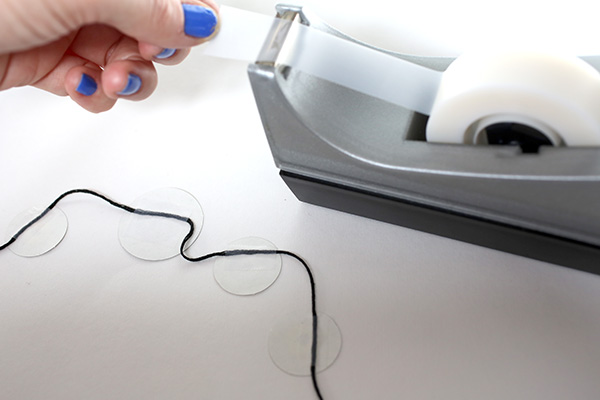 3. Flip the eyeballs over and tape the embroidery thread to each near the top. (Leave some space in-between each eyeball so it hangs properly.) Don’t forget to leave some extra thread at the beginning and end of your garland for hanging!
 4. Continue down the thread until you have enough to drape across your mantel, and cut any excess.
 5. Attach to the mantel with color-coordinating washi tape.
You Need for the Skull Stantions:

spanish moss / 2 plastic skull cups / floral foam / box cutter / white spray paint / something to protect your work surface / glue gun & gluesticks / lightweight paper (I used Martha Stewart Crafts Decoupage paper in Crackle & Lace gold) / decoupage glue (I used Martha Stewart Crafts Decoupage Durable Glow-in-the-Dark Finish) / paintbrush
How To:  1. Separate the spanish moss into two bunches. Spray the bunches white (if it isn’t already), allowing to dry.
 2. Cut the floral foam to fit inside each cup.
 3. Hot-glue the spanish moss clump to the top of the foam (and to the inside of the cup if desired).
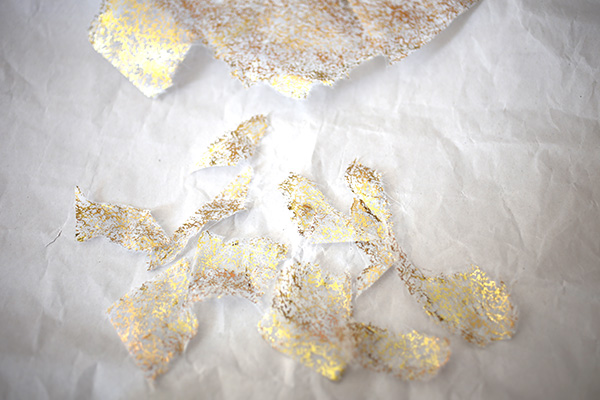
4. Rip the decoupage paper into little bits.
5. Apply decoupage medium with a brush to one of the skulls, and affix the ripped paper, overlapping the pieces. 
 Cover with another layer of decoupage medium and allow to dry.
6. Follow up with 2 more coats, allowing to dry in-between.
 7. Glue each skull on top of the spanish moss.


And that’s it! These decorations provide a great “frame” for your mantelpiece…and for a large spooky DIY Halloween-themed picture (which I’ll be providing a tutorial for tomorrow!)
Want more Halloween projects? Try yesterdays’ project, DIY Decoupaged Cut-Out Pictures, or some earlier projects like DIY Stenciled Pumpkins, or the DIY Spooky Gothic Eyeball Brooch.
 Happy DIY’ing!
xo
Carly
FTC Disclosure: I received a box of craft supplies from Martha Stewart Crafts for a paid post (posted here). This post was not part of the paid campaign, and I was not compensated for this post. All opinions above are my own. For my full Disclosure Policy, click here


