How to Organize Your Drawers on a $5 Budget
 I love love love organized drawers. When you open them, every item in its proper place, catalogued and corralled, and I just can’t help but smile. Who wouldn’t love to be able to find everything you need, right at your fingertips? And don’t get me started on the kind of heaven that The Container Store is for me. Yup, I love organized drawers – but doing so can be kind of pricey if you spring for brand-new containers and liners and the like. With a little bit of planning ahead, you can clean up all your dirty secrets – for around $5. Here’s how:

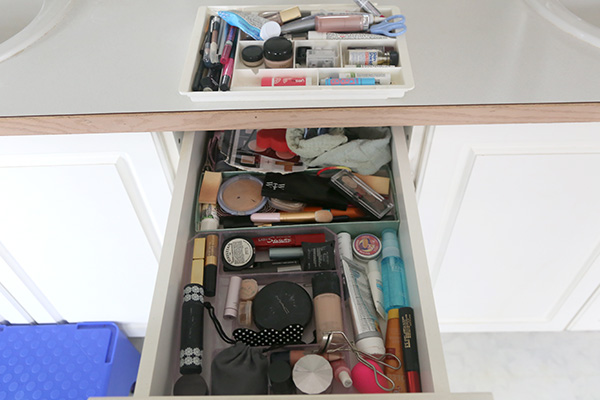
Before: Quelle horreur!
You Need: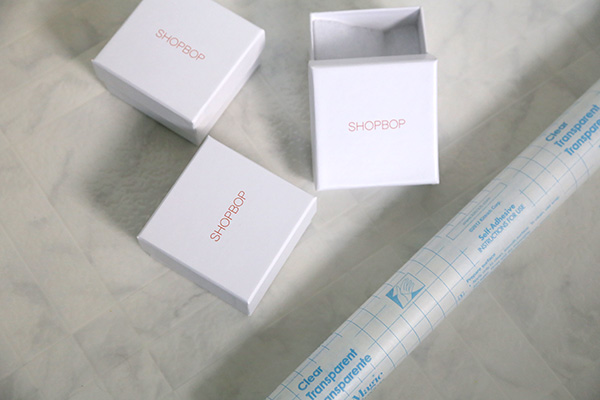
clear adhesive Con-Tact Shelf Liner* / your favorite wrapping paper* / measuring tape / double-sided tape / scissors / pen / extra jewelry boxes, shipping boxes, or other small boxes
How To:
*You could always skip using these two items and just purchase a 2-for-1 like Chic Shelf Paper. They have a lot of great designs, plus they have a waterproof option for the linings of bathroom or kitchen cabinets, which need to withstand moisture on a daily basis. It is a little pricey, so I went with some wrapping paper I liked (which affords you endless possibilities) from Target (Spritz, in teal chevron) and Con-Tact paper, which is cheaper.
1. Remove all your stuff from the drawers and lay it out. Purge ruthlessly! Pile stuff into a pile of things you need every day and need immediately at hand.
2. Clean out the drawer by wiping it down of debris and dust. Makeup remover and nailpolish remover can be godsends to get crusty makeup spills out of the bottom.
3. Measure inside of drawer and cut a piece of wrapping paper the size to fit.
4. Peel the backing off the Con-Tact paper and place it sticky side up on a flat surface. Adhere the wrapping paper piece to it carefully by turning it upside down, so the patterned side is stuck to the sticky side of the Con-Tact paper. Smooth out any bubbles.
5. Trim the Con-Tact paper to the same size as the wrapping paper piece.
6. Place in the drawer, securing with double-stick tape to the inside of the drawer.
7. Try your jewelry boxes (and lids!) in different configurations until you find something you like. You could optionally spray paint the insides a contrasting color (or add some glitter – woohoo!) but I preferred the white.
8. Use double-stick tape to secure each box down to the Con-Tact sheet, and to each other (where needed). I decided to let some spaces in between the boxes so I could see the Con-Tact paper showing through.
9. Re-fill your now sectioned and organized drawer, paying attention to how you use it and what you need to grab immediately (which would go in the front or top – the easiest-to-reach places).
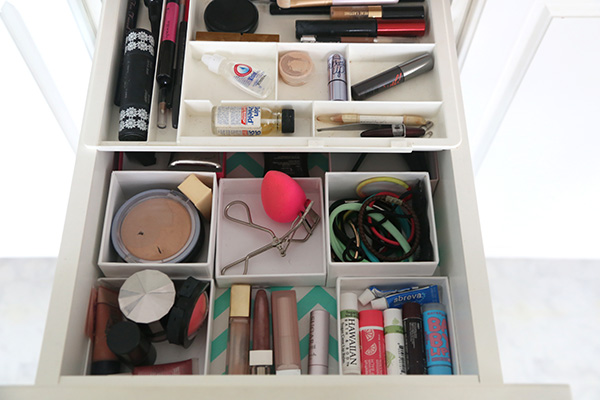 You’re done! Revel in your newly-organized drawer, and breathe a sigh of happiness every time you open it.


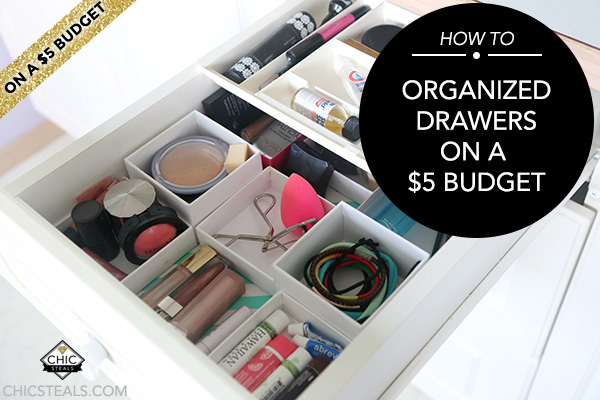
From the above…

To THIS!!
And one more time, a side-by-side Before and After…
Happy Organizing!
xo
Carly
Leave Comment


