Jan 16, 2011 | DIY
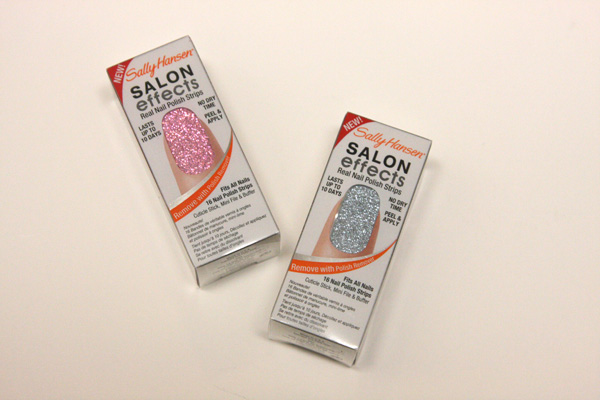
I spied this in the store the other day and promptly snapped up 2 to try!
I’ve bought the Nail Rocks nail sheets (that need to be set with the heat of a dryer, which I haven’t experimented with just yet), and tried out the Incoco-brand Color Enamel Strips in the past, which I enjoyed but were a bit tough to apply.
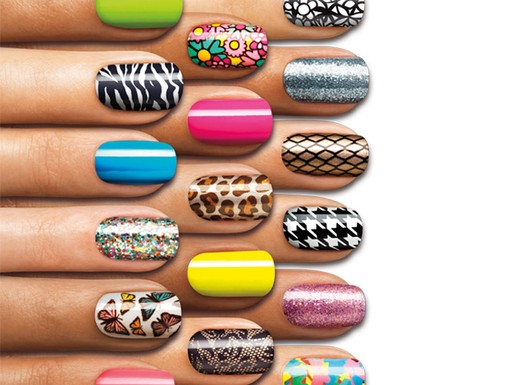
Look at all the beautiful colors and patterns the Salon Effects come in!
The Sally Hansen version of this idea takes the difficult application inherent with other brands and makes it super-easy, with an orange stick and nail file included in each set. And what I haven’t seen before with these stick-on nailpolish sheets is the amazing range of colors: Sally Hansen is offering glitter, photo-realistic effects, fun patterns, and bright colors. And they’re super-easy to use!
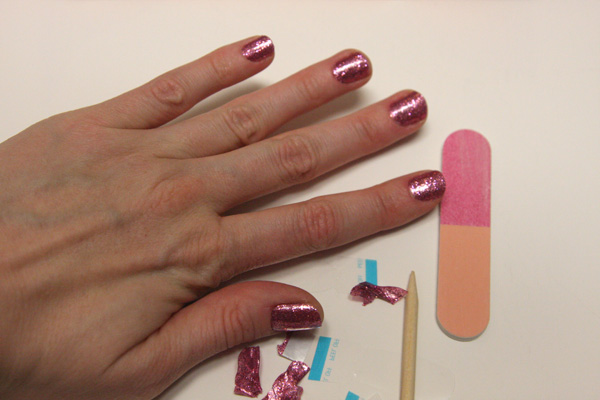
There are 16 sheets in a packet (and though you could probably use a single sheet for 2 nails if you were super-careful and enterprising); they’re meant to be used one sticker = one nail. You need to find stickers that approximate the shape of your nail bed, peel off the protective coat, peel off the back, snap off the paper tip (I found it easier to do the last two steps in reverse order), and place onto your nail.
You use an orange stick (included in the set) to press down the edges, and then the included nail file to crease the sticker sharply at the nail tip, and the sticker rips off.
Pros: Easy to use, fast (once you get the hang of it), brilliant colors and effects, long-lasting (I hope – the package says 10 days!), no drying time required, no need for other things to buy to do your manicure (topcoat, base coat, etc), no bumpiness to the glitter; DBP, toluene and formaldehyde-free.
Cons: A little smelly (like real nailpolish), packs come vacuum-sealed so they’re kind of hard to rip into, stickers prone to ripping if you press too hard with the orange stick, difficulty in finding a shape match to your nail bed, waste of sticker part that you rip off, a little pricey.
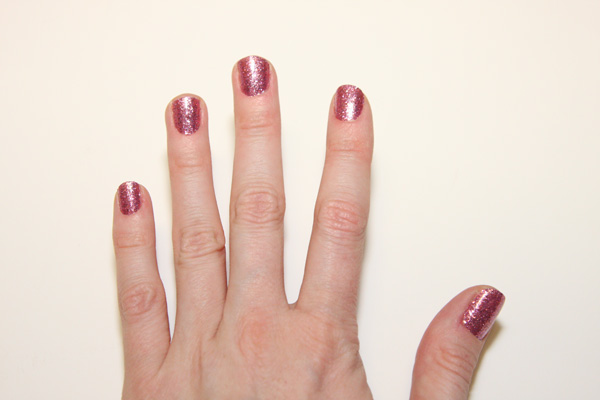
At about $9.99 a pack they’re a little more expensive than your average nailpolish, and they’re only single-use, so once they’re done, they’re done. But the effects are amazingly bright, pure color, with a streak-free and consistent finish, and the tops are smooth without the need for a topcoat!
Right now I’m trying out the pink glitter (“Bling It On”) and the blue glitter (“Blue Ice”) is next on my list!
Already in stores like Walgreen, Target, and CVS, this product is supposed to be available throughout drugstores in the U.S. by February 2011.
What do you guys think? Something cool you’d like to try? Or a little too pricey and bothersome to mess around with?
xoxox
Carly
~If you liked this post, please share it!~
Save
Leave Comment
Jul 7, 2010 | DIY
After a fairly uneventful flight (no passing out in the aisle this time; the only thing that happened was the entire left side of the plane from row 35 back had no armrest power – so no light, no attendant call button, no radio, and no sound to the overhead movies, which made passing the 10 hours on the plane pretty much like pulling teeth)…I have finally arrived in Japan. It’s like wall-to-wall humidity that plasters your hair to your face and has mosquitoes swarming on you the moment you step out the door. Lil Tot has, amazingly, suddenly become incredibly talkative and can actually carry on an intelligent, logical conversation in the 2 weeks he’s been here. His comprehension, vocabulary, and maturity skyrockets whenever he spends time here.
Anyway, I wanted to share with you what I made before I left Oregon.
I was playing around on the computer the other day and made these.
I’ve had a pack (a measly 3 sheets for $10!!) of printable inkjet tattoo paper for awhile and had been undecided on what to make. (I’m not really a tattoo person – I’ve always felt that since I have freckles I really don’t need any more marks on my body;-) …But once in awhile I’ve liked wearing a stick-on tattoo, just to change things up.) 
Collage from Fashiontribes.com
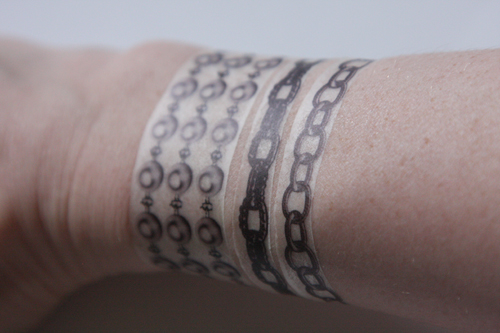
Since the Fall ’09 Chanel Couture Runway show, I’ve been coveting those pearl necklace and chain bracelet tattoos…but there’s no way I’m going to blow $75 on the set now available at retail. So… (surprise, surprise) I decided to make my own with the printable tattoo paper. I found some tattoo images online here at Inkwear Tattoos, and collaged them together with other images from the Inkwear catalog.
I was sooooo psyched since the final printed product looked pretty awesome. But my good mood ended when I cut out the tattoos and tried to apply them.
I always thought that if I ever did decide to get a tattoo, I would have the word *lifeline* tattooed on my right wrist. My hands are the source of all my creativity!
They’re stickers. No matter how closely you trim the tattoo, it’s made up of this clear film that’s extremely obvious and tacky. (Also visible in any gaps in the image.) White spaces will of course, not print. You do not apply with water – you just peel and stick – which means that they will come of the next time you take a shower. Oh, and you can’t get any water or moisture on the image because, since it’s inkjet ink, it will just smudge.
You can see the edges lifting up already.
What a junky product! As I wore throughout the day, the stickers just got increasingly wrinkled and lifted up at the edges, snagging in my clothing and hair.
What a disappointment. By the end of the day, I peeled some of them off before I took a bath, but the wrist tattoos I decided to remove as per the instructions: soap and water. BIG MISTAKE. They dry tattoos peeled off fine, but once I used soap and water, the tattoos when wet became a gluey, sticky, smudgy, runny mess, and my skin got really red where I had to rub to abrade them off.
Utterly sad. I would definitely NOT recommend these Cre8 Ink Jet Tattoo Sheets at all.
I did find online there are some e-stores that will print temporary tattoos for you – though I wonder if they’re the same, single-use stickers? (From the online description is appears they are not.) Does anyone have any experience with this?
(And if you are wanting to purchase from Inkwear Tattoos to get the original images I used, they deliver worldwide, so you could potentially buy some sets from them and get them delivered to you instead of going the DIY route!)
xoxox
Carly
Save
Leave Comment