I just LOVE ruffles – and always struggled how to sew a ruffle since I didn’t have a ruffler foot for my sewing machine. (Those things are expensive and complicated, man!) Though I eventually made the plunge and bought a ruffler foot sewing machine attachment, I can seriously count the number of times I’ve used it since then on one hand! I simply prefer a quicker, easier way to make picture-perfect ruffles – that is completely adjustable to my garment – and comes out great every time. Plus, ruffles are so IN this Spring & Summer for 2020 – check out the pattern trends for McCall’s Patterns for example – and a lot of my DIY’s use this method, so I figured it was high time to walk you through how to make them! Ruffles look so pretty especially using shirting fabric – and they’re amazingly simple to make using this method.
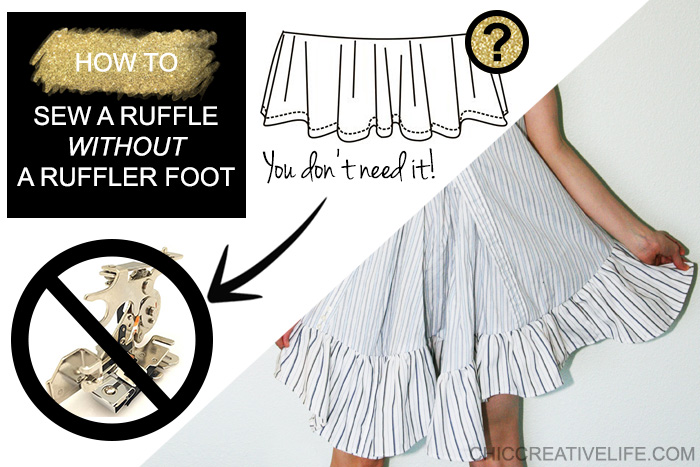
How To Sew a Ruffle Without a Ruffler Foot
You Need: sewing machine zigzag foot / long length of elastic cord (doesn’t matter what color) / pins
How To:
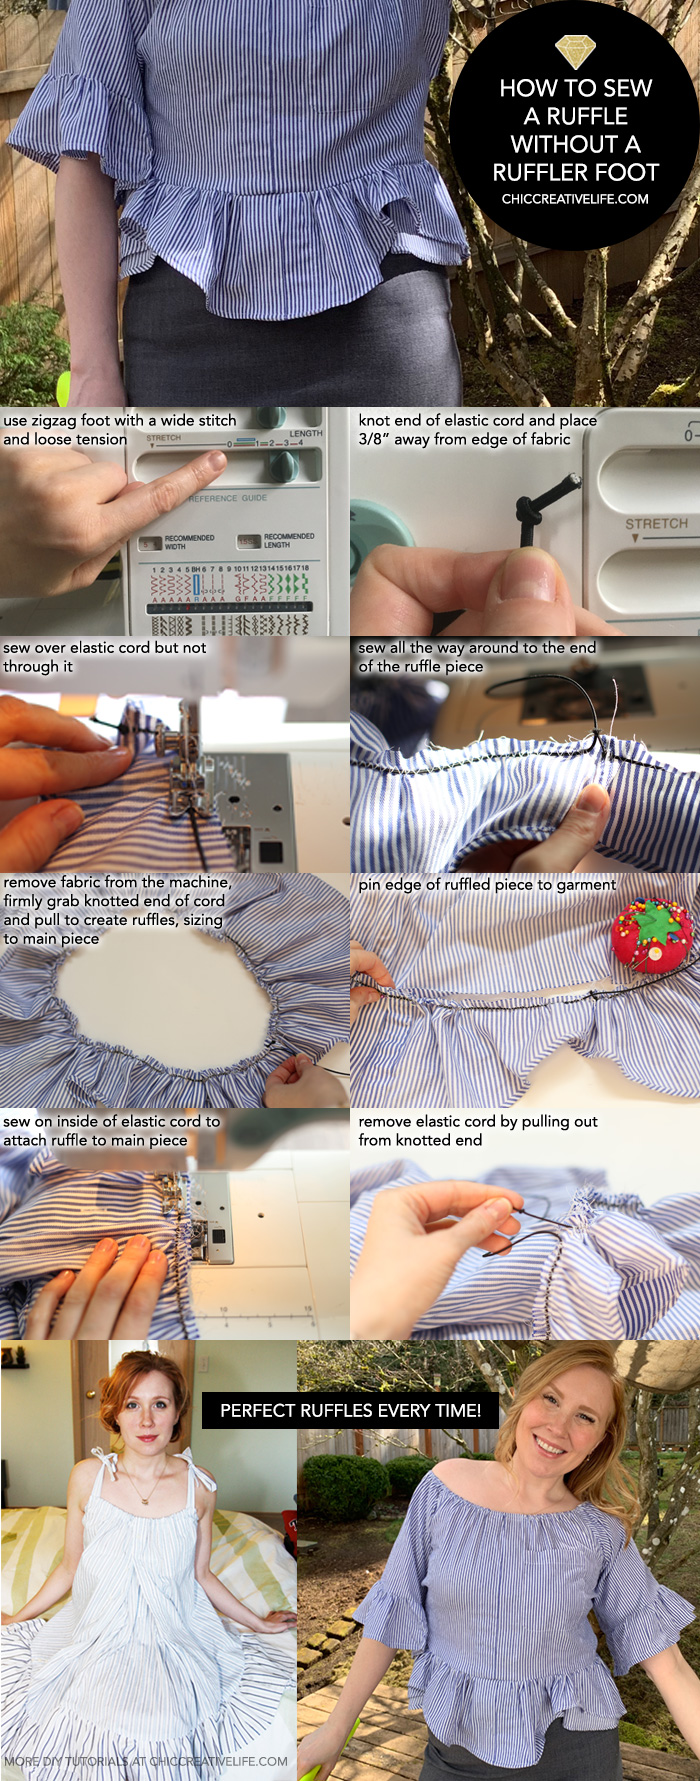
1. Switch your sewing machine foot to a zigzag foot, and change the machine settings to as wide and long a zigzag as it will go, with a looser tension.
2. Place the straight edge of a piece of fabric you are wanting to create ruffles in, wrong side facing up, under the machine foot.
3. Knot a long piece of elastic cord at the end, and place it on top of the fabric, about ⅜” from the edge.
4. Lower the zigzag foot down in front of the knot, backstitch a few times over the cord (do not go through the cord), and proceed to stitch in a zigzag over the cord down the length of the straight edge.
5. When you stitch all the way around and are nearing the knot in the elastic cord, go as far as you can without hitting the knot, and backstitch a few times over the cord.
6. Remove the ruffle piece from the machine. Pull on the un-knotted end of the cord, gathering the fabric underneath it.
7. Gather the ruffle piece until it is basically the same length of circumference as what you want to attach to, pin it to the other piece, right sides together.
8. Stitch ruffle below the elastic cord to secure it to the other piece, and remove the elastic cord by pulling it out from under the zigzag stitching from the knotted end.
And that’s all there is to it, friends! I’ve created the graphic below for easy pinning so you can save this post and come back to it.
By the way, elastic cord is hard to come by lately – but I’ve had really good luck with searching for elastic cord sold by Etsy sellers. Try them instead of Amazon or the local craft store!
As long as you can sew in a zigzag – you can create a ruffle. Hopefully this will ease any worries you might have about creating the perfect ruffle – and next time when it comes to it, you will know EXACTLY how to sew a ruffle the easy way!
xo
Carly


